Crochet cushions are a great project to impress guests. It is an easy way to change your decor without a lot of work or money. You can toss the pillow on a bed and pair it with some cute throw pillows. It can spruce a drab bedroom! Don’t want to make a cushion cover? Make more than one of these squares to make a matching blanket!!!!
This crochet cushion cover pattern is perfect project for intermediate crocheters. we will be simply crocheting two squares and sewing it into a pocket pillow cover, so you can easily wash the cover.
Let’s get started…
Materials required
Wool 4ply assorted colours or use scrap yarn
Crochet hook 3.5mm
Cushion
Scissors / yarn cutter
Measuring tape
Pattern notes
Weave in the ends as your work progresses.
Make the stitches slightly tight.
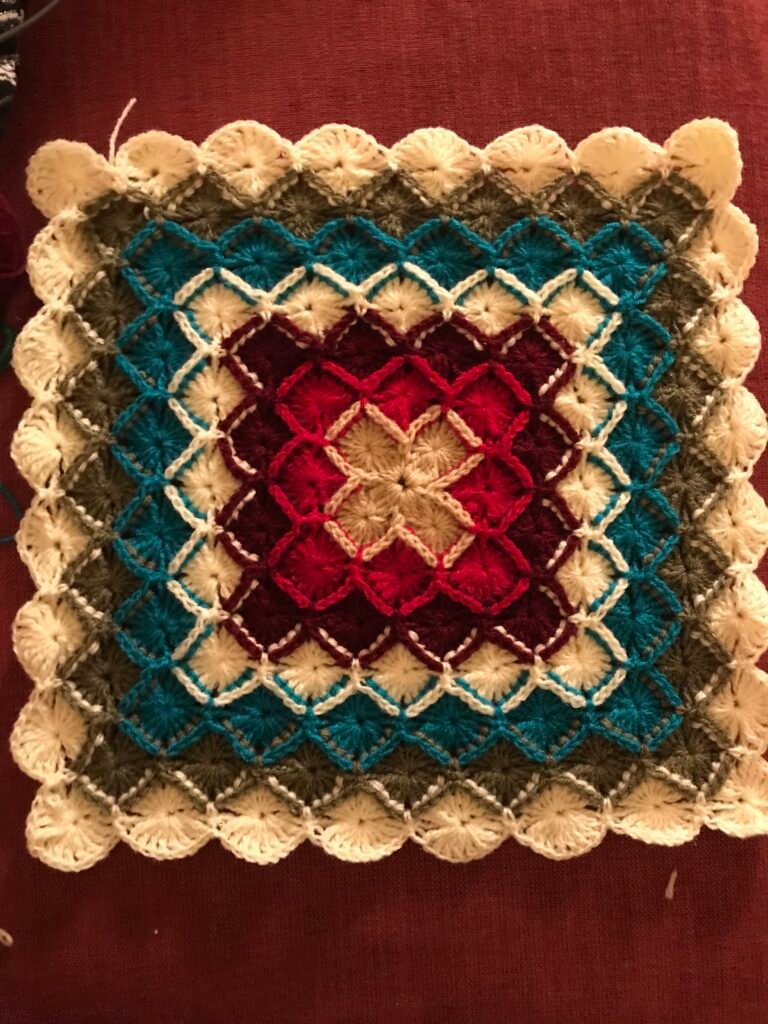
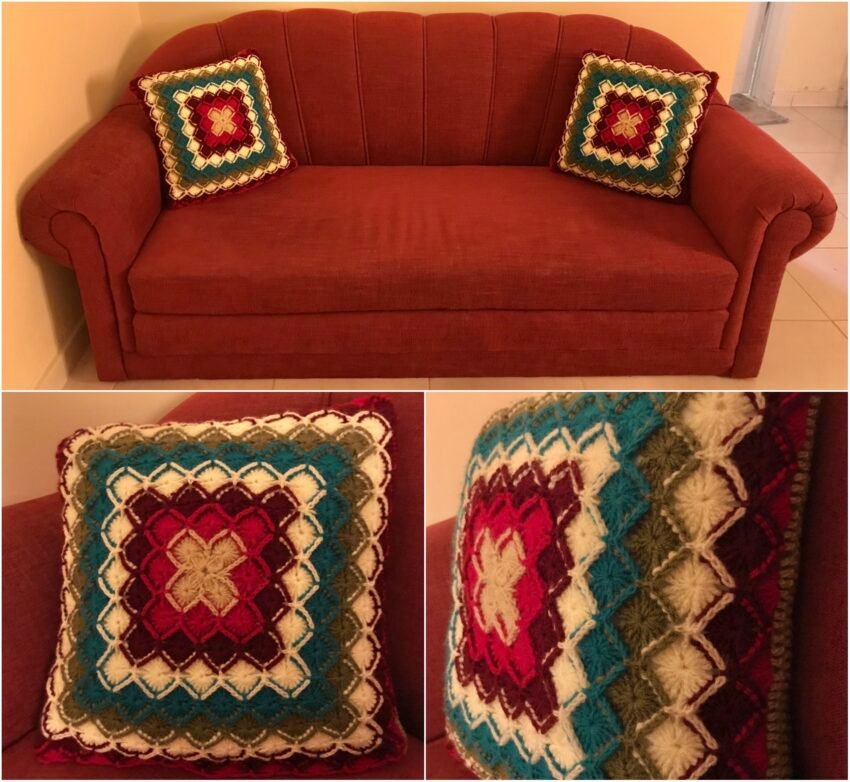
The front textured square (3D stitch) is worked from the Center till the desired size.
Each colour to be worked 2 rows.
Back square is a solid granny square.
Stitch guide
Chain (ch)
Single crochet (sc)
Double crochet (dc)
Treble crochet (trbc)
Front post treble crochet (fptrbc)
Slip stitch (slst)
Cushion cover
Working on the front square with 3D stitch
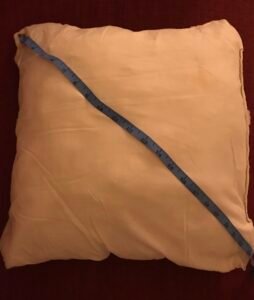
Measure your cushion as shown in the above picture my cushion is 23 inches. That means your finished work should be 23 inches.
Let’s begin with the 3D stitch pattern
Row 1 make 6 ch and join with last ch to for a ring. Now make 5 ch to begin the first row.
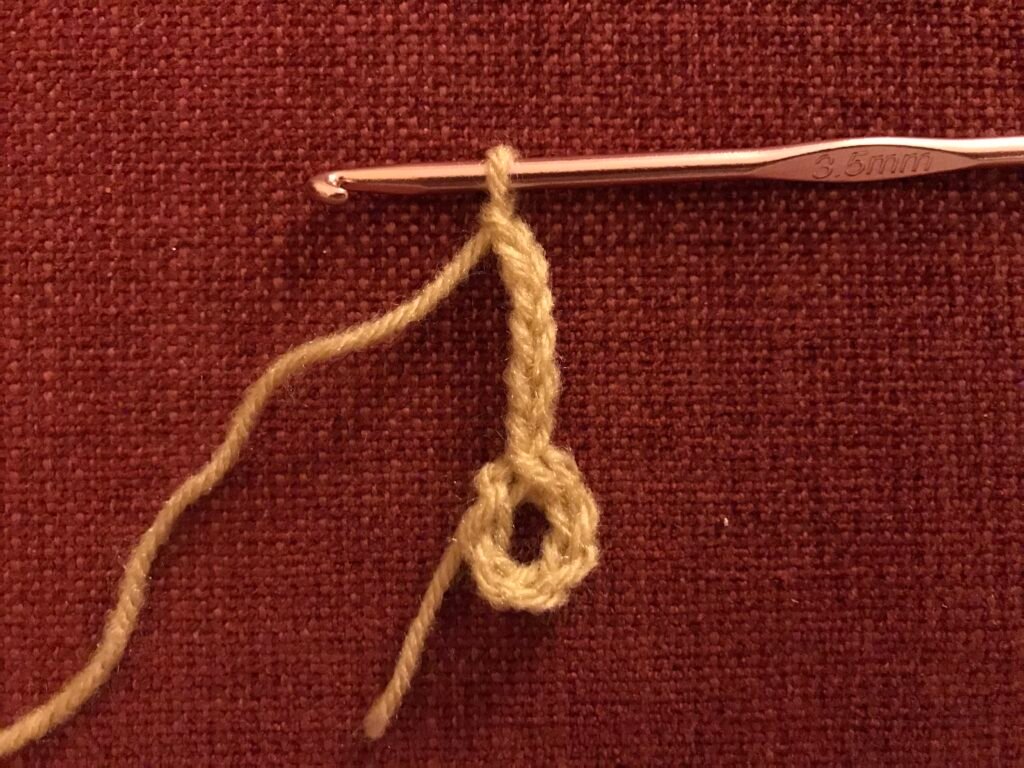
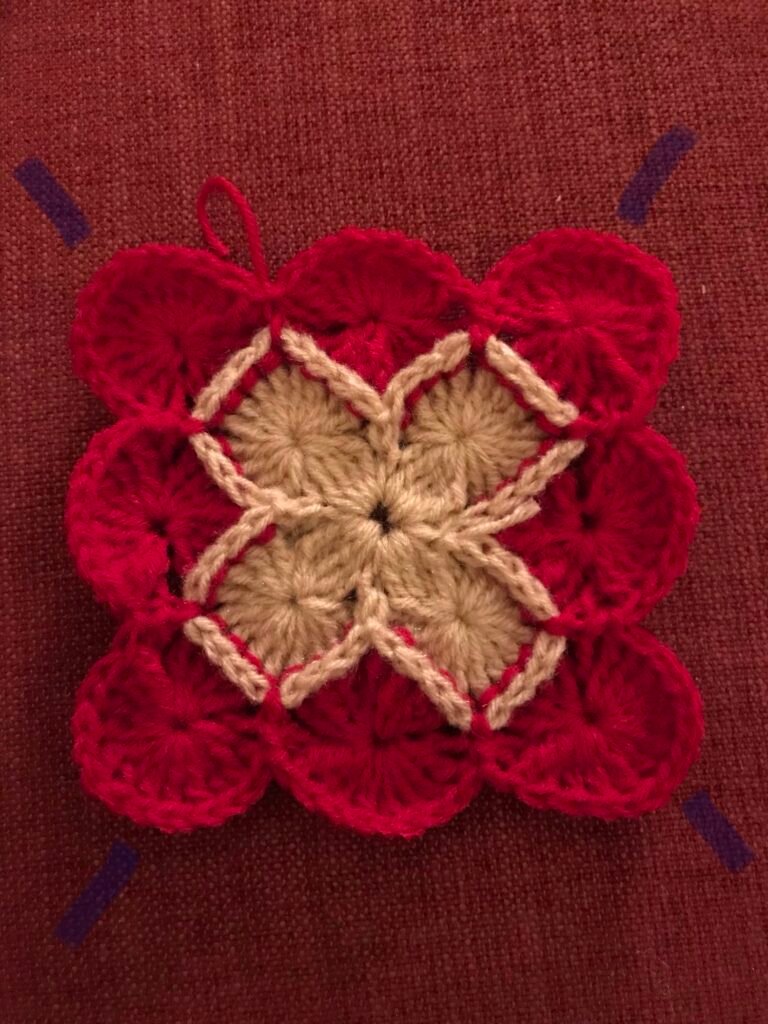
Row 2 make 4 incomplete trbc in the ring, yarn over pull through all loops make 4 ch and 1 sc in the ring this completes the first corner repeat to create 4 corners.
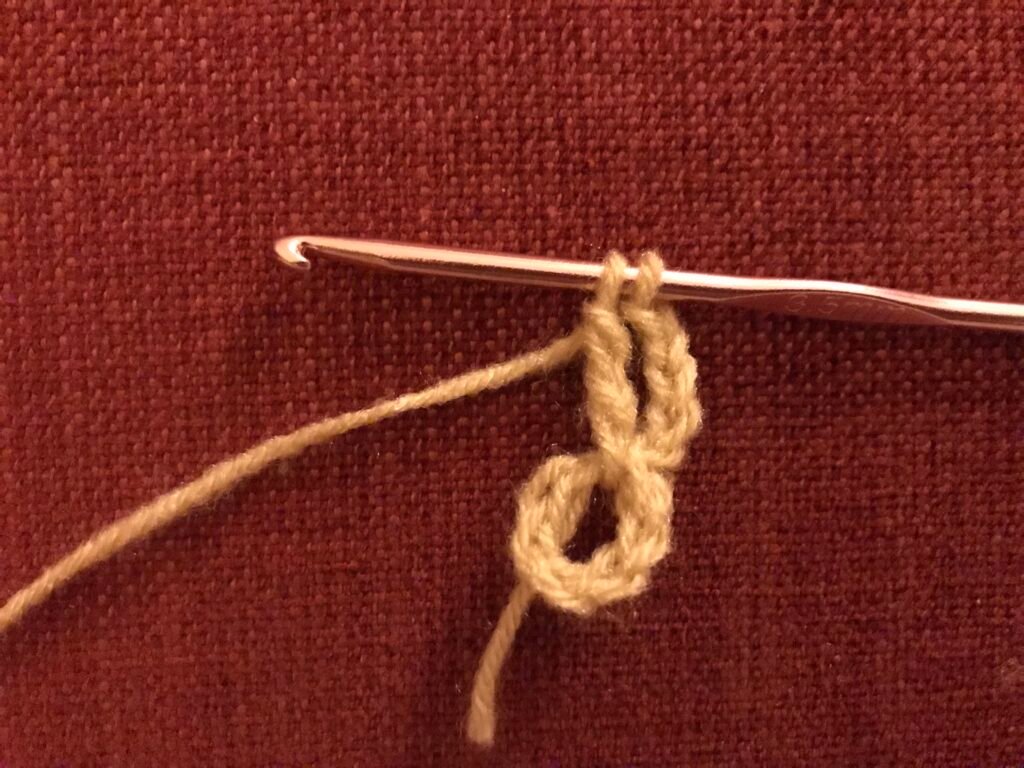
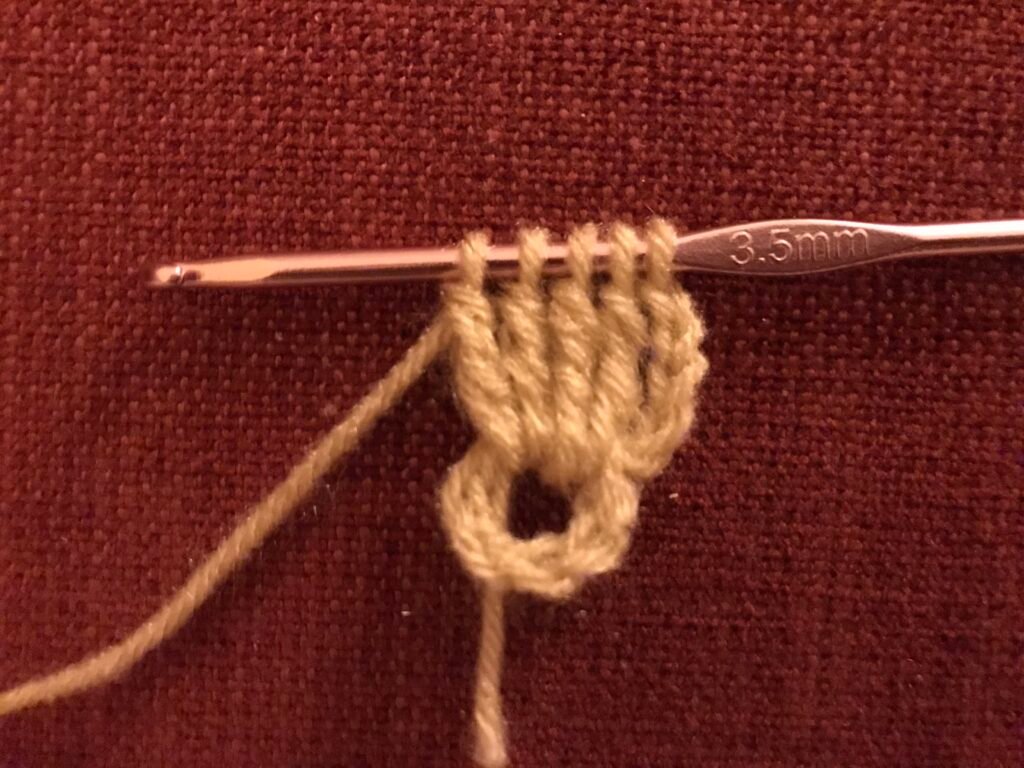
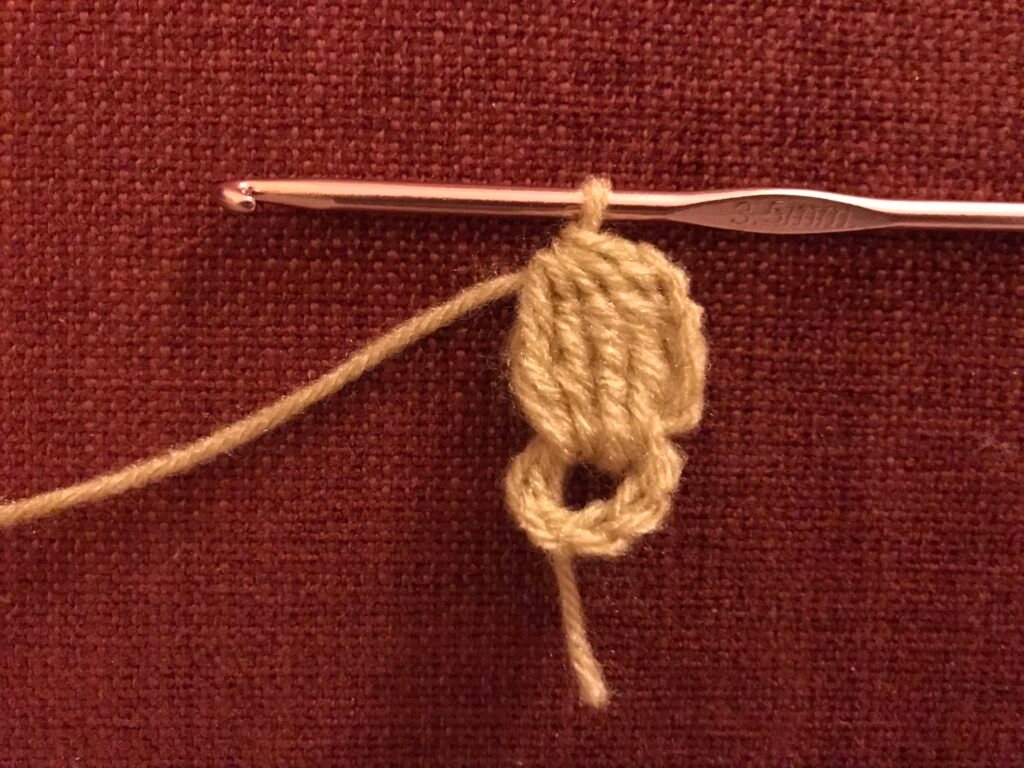

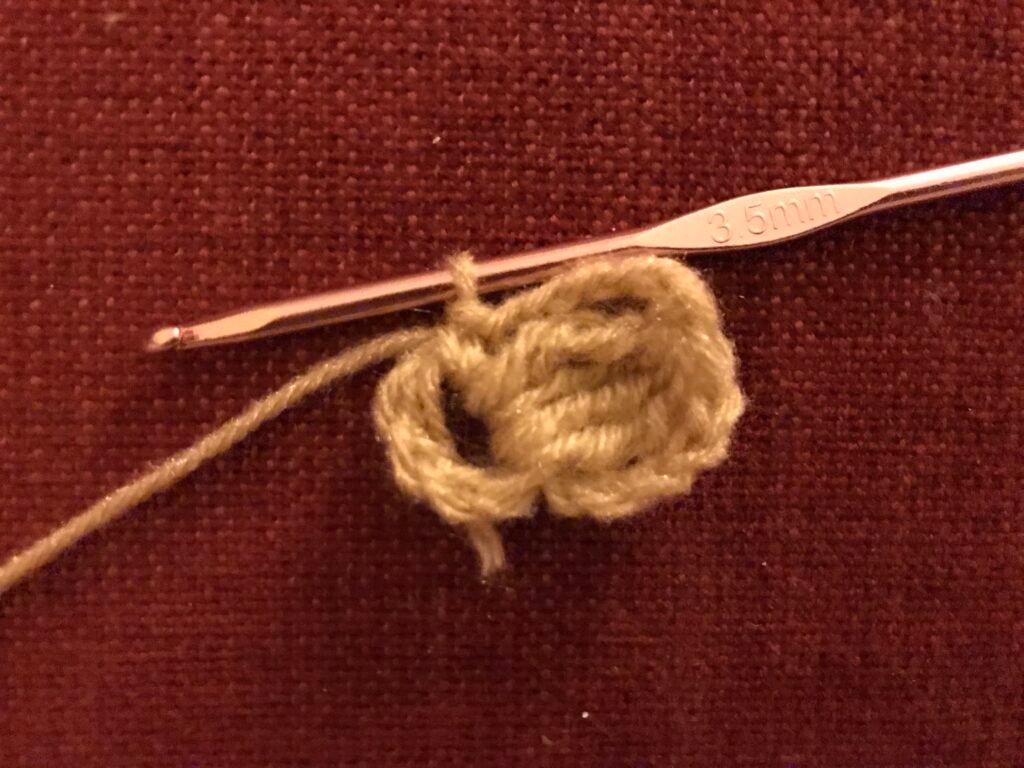
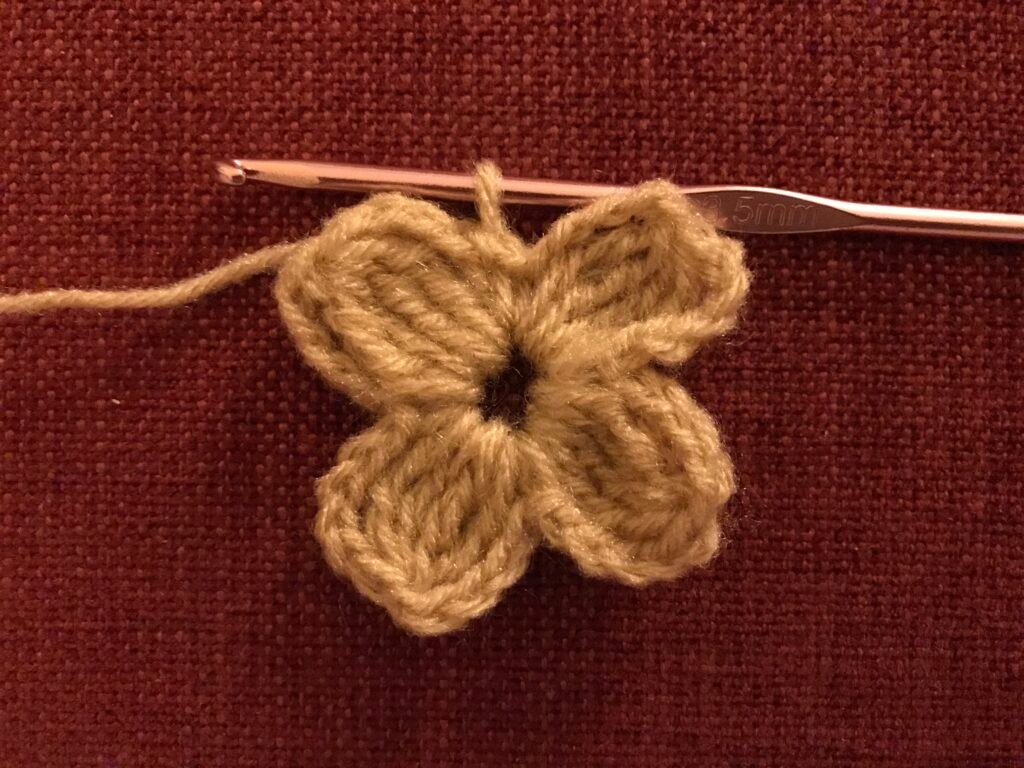
Row 3 ch1 and make 4 trbc in the Center of the corner, ch1 4 trbc in same stitch, ch1 4 trbc in same stitch, sc on the previous row sc. repeat this in every corner. Fasten off.

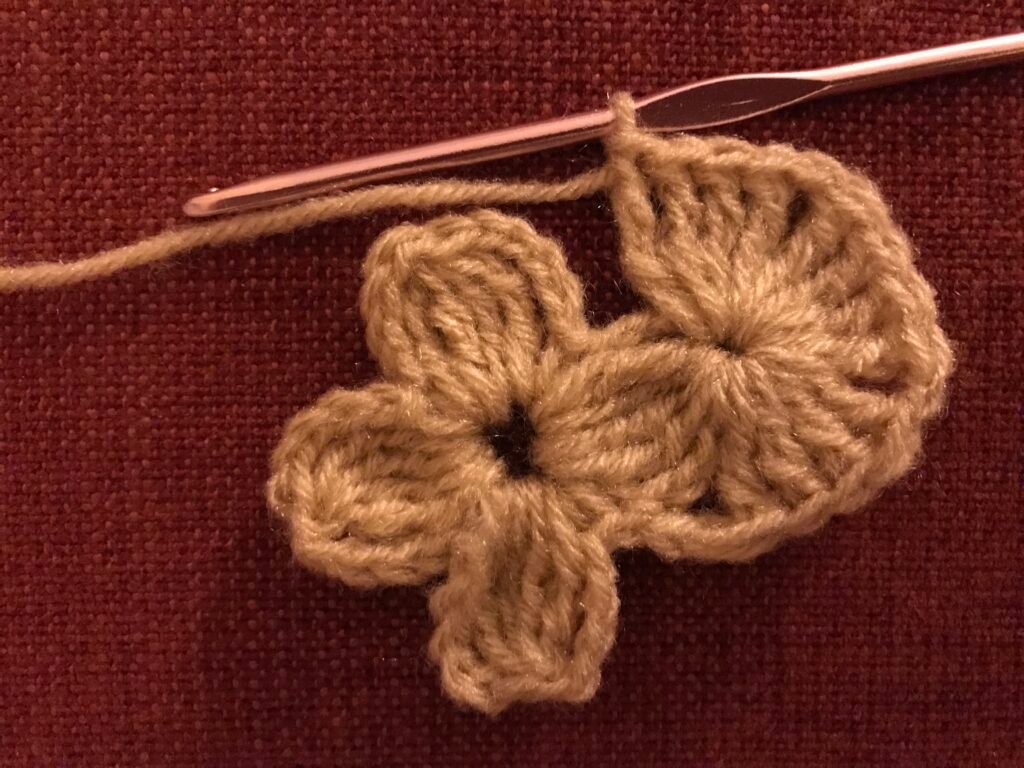
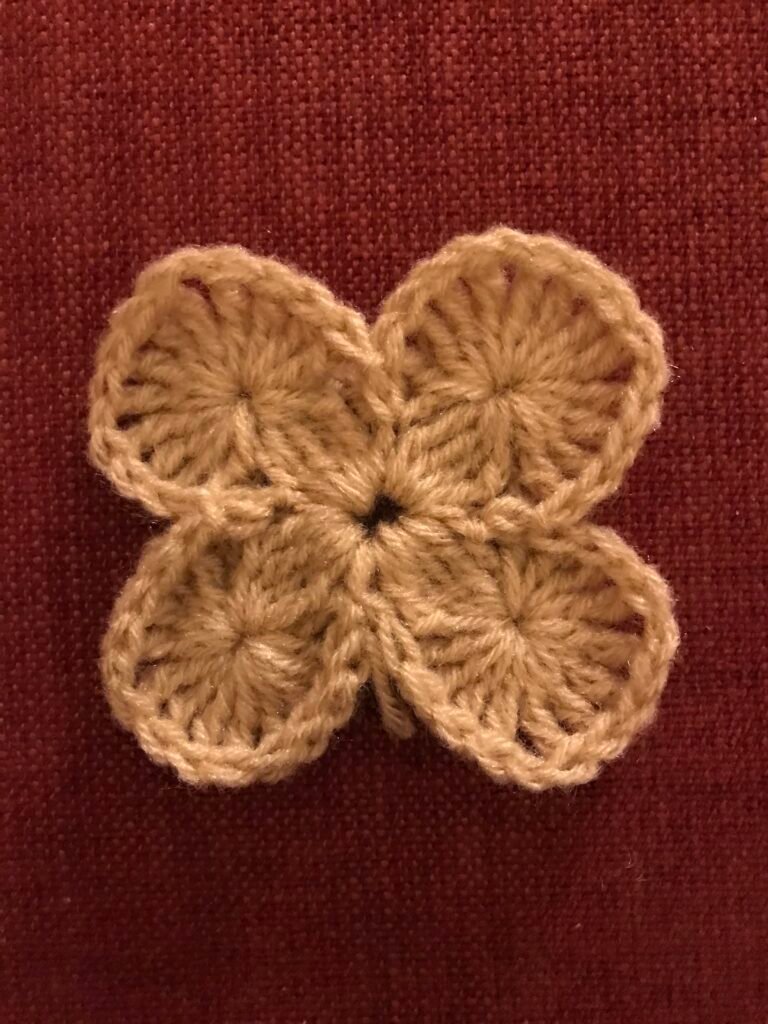
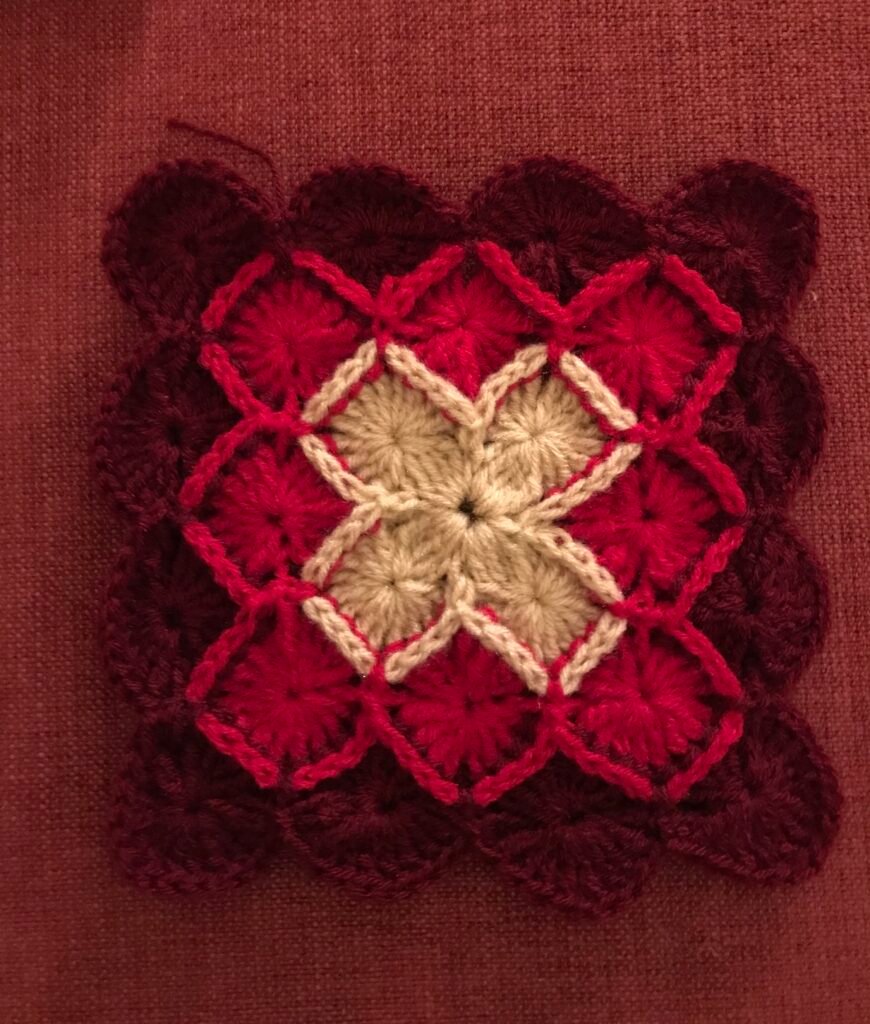
Row 4 join new colour *ch 5 and make 4 incomplete fptrbc, yarn over and pull through all loops chain 5 and sc in next ch 1 space*. ( * to* worked only on corners).
*Ch 5 and make 8 incomplete fptrbc, yarn over pull through all loops, ch5 and sc in next ch1 space*. ( * to* to be worked between the cornerS).
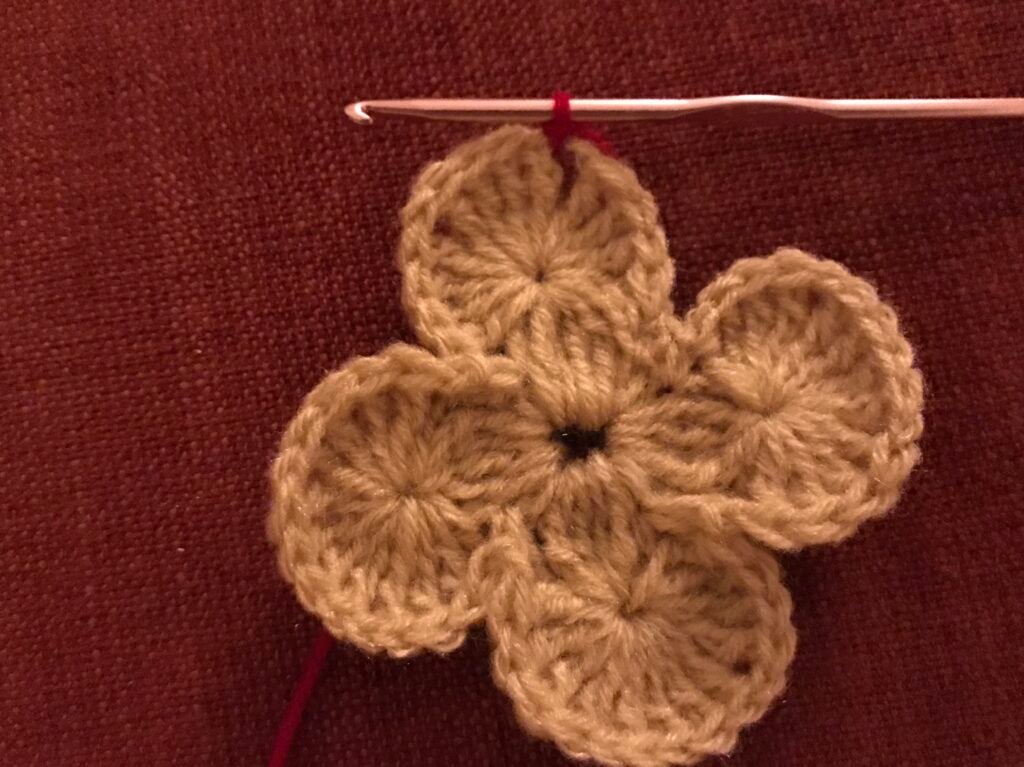
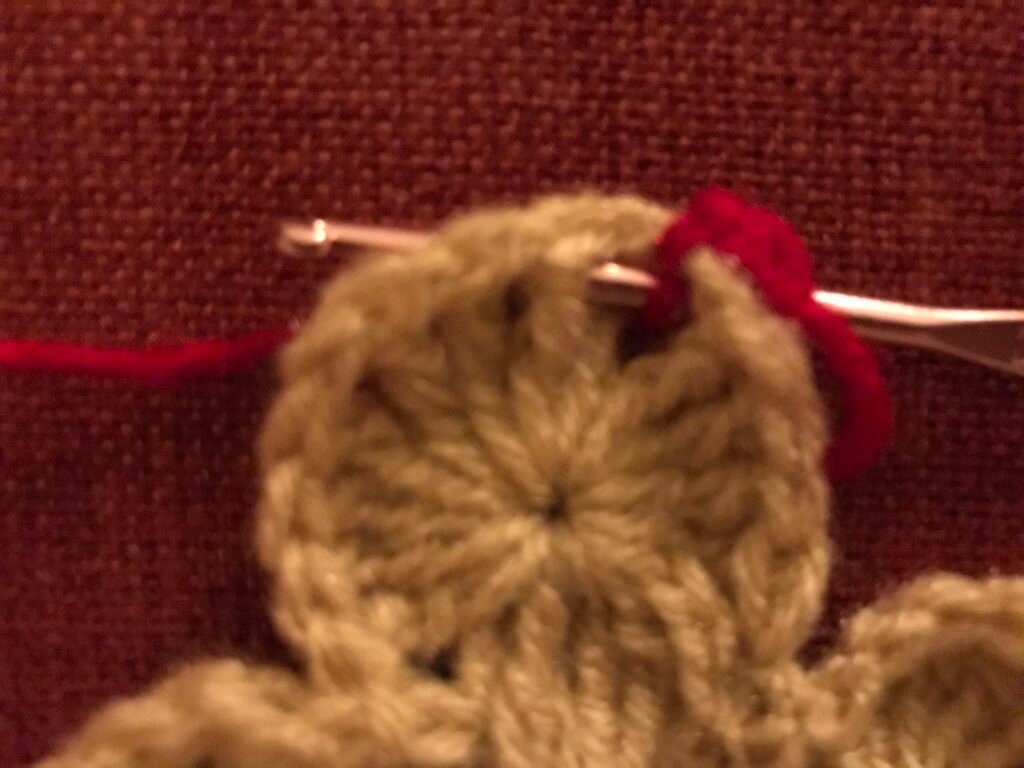
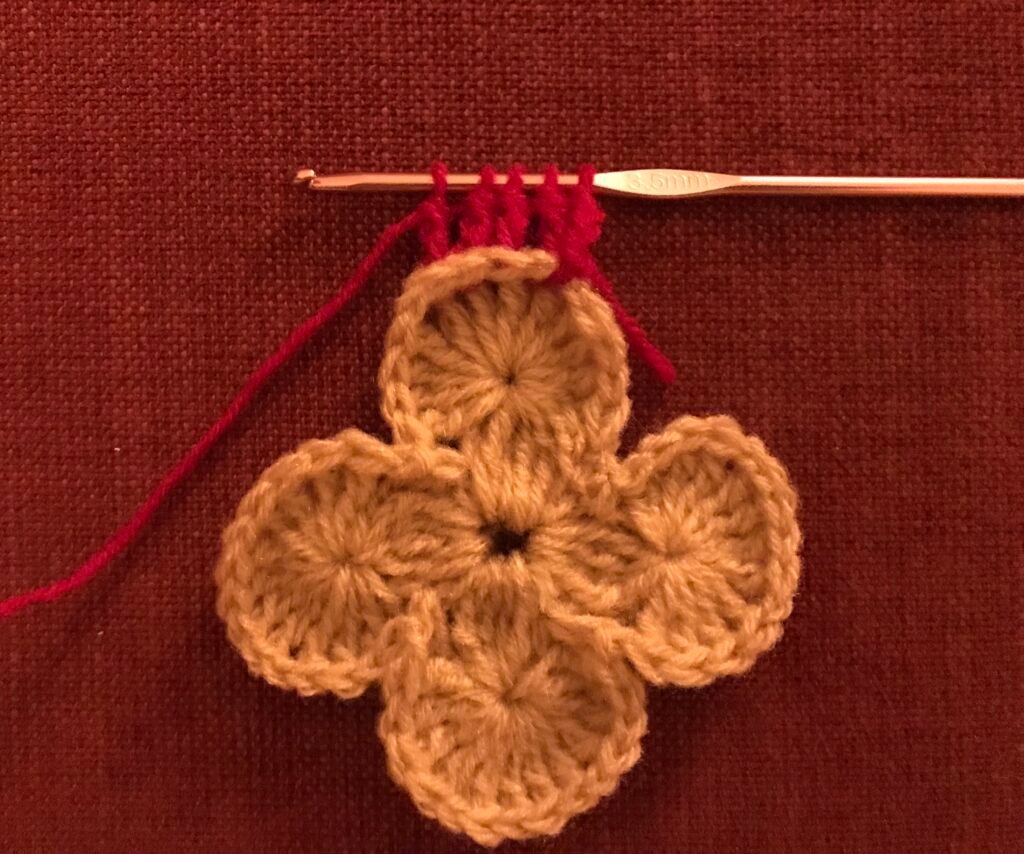
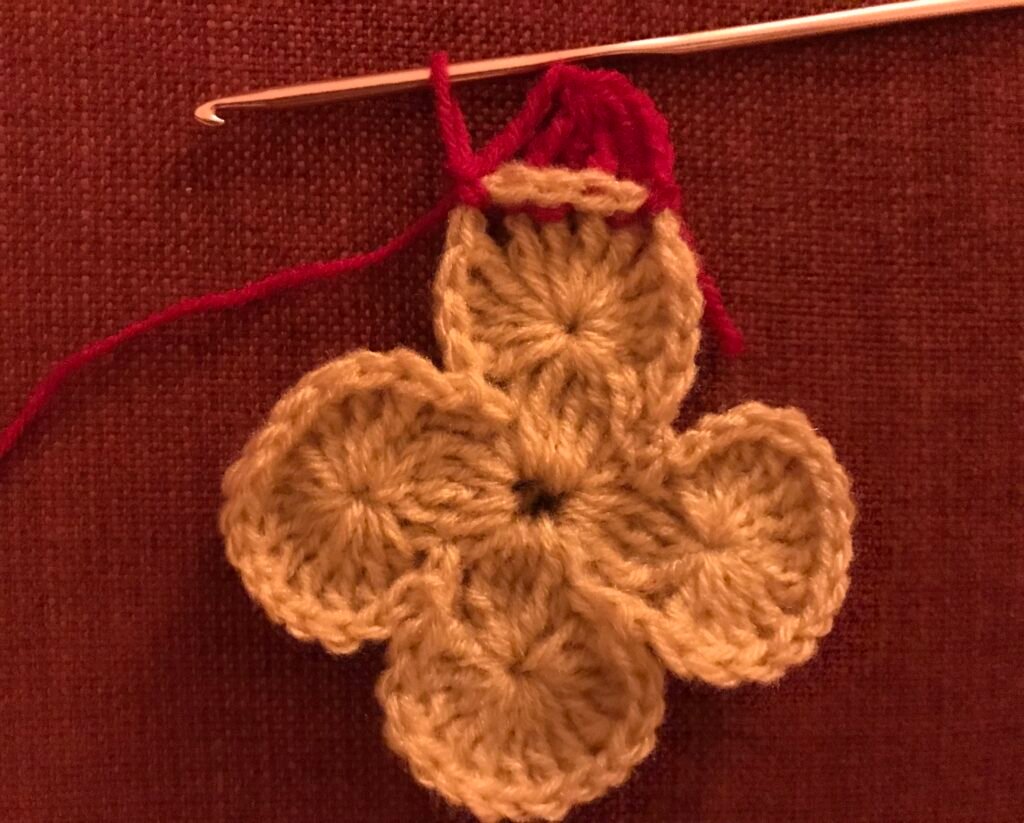
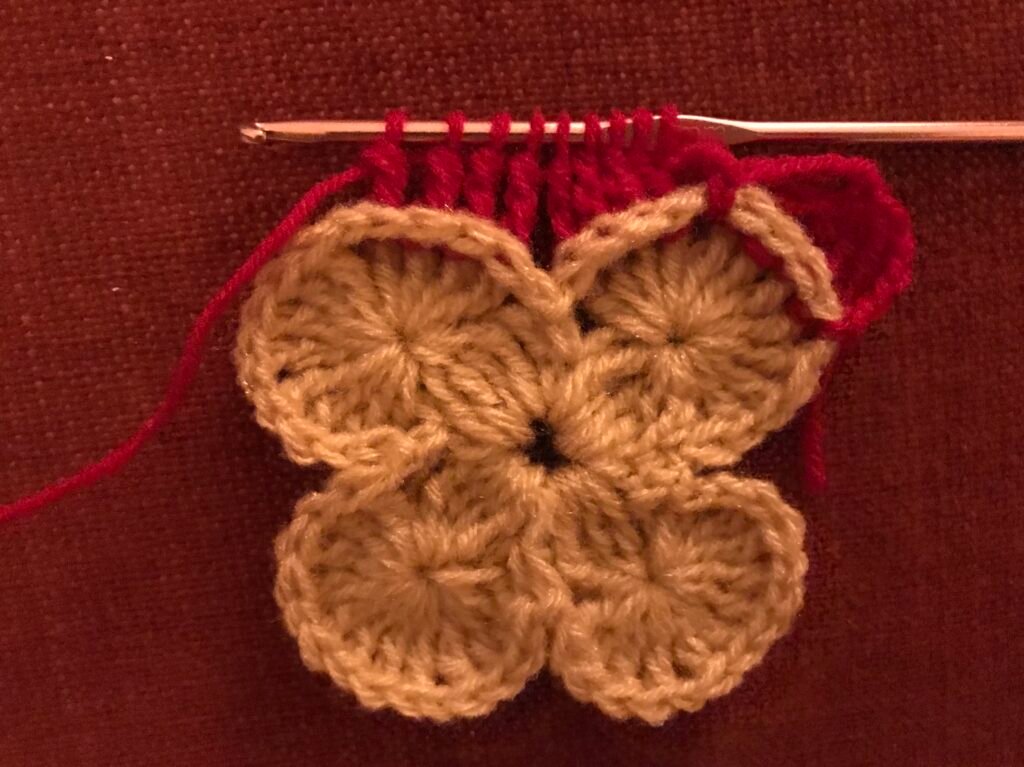
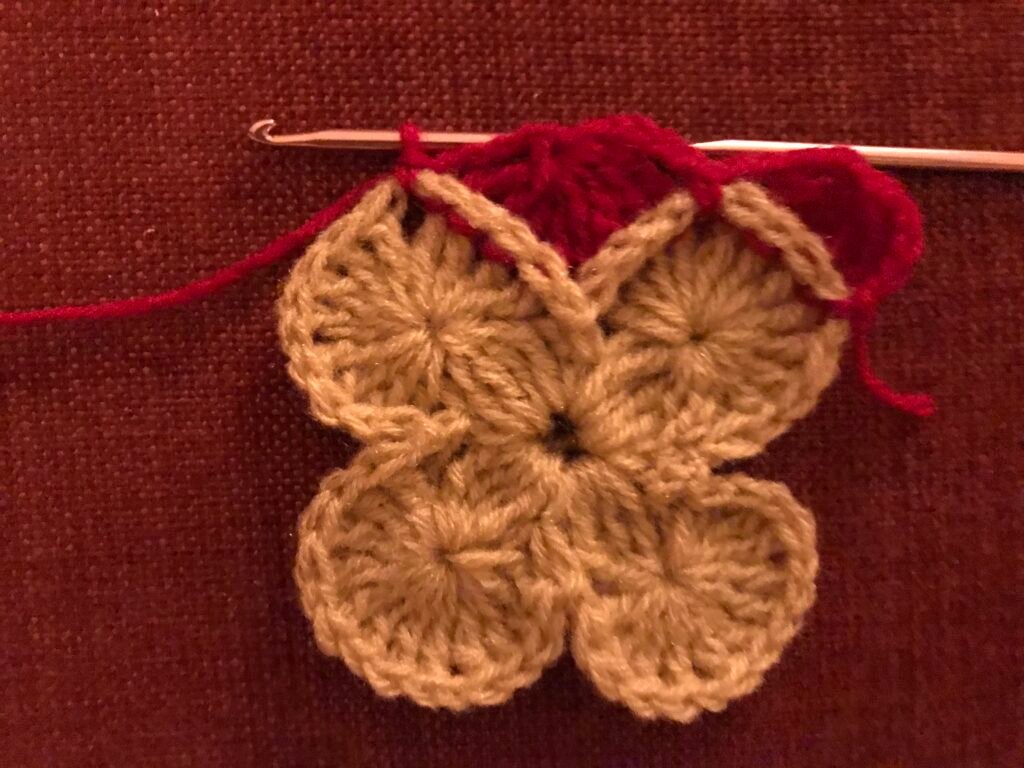
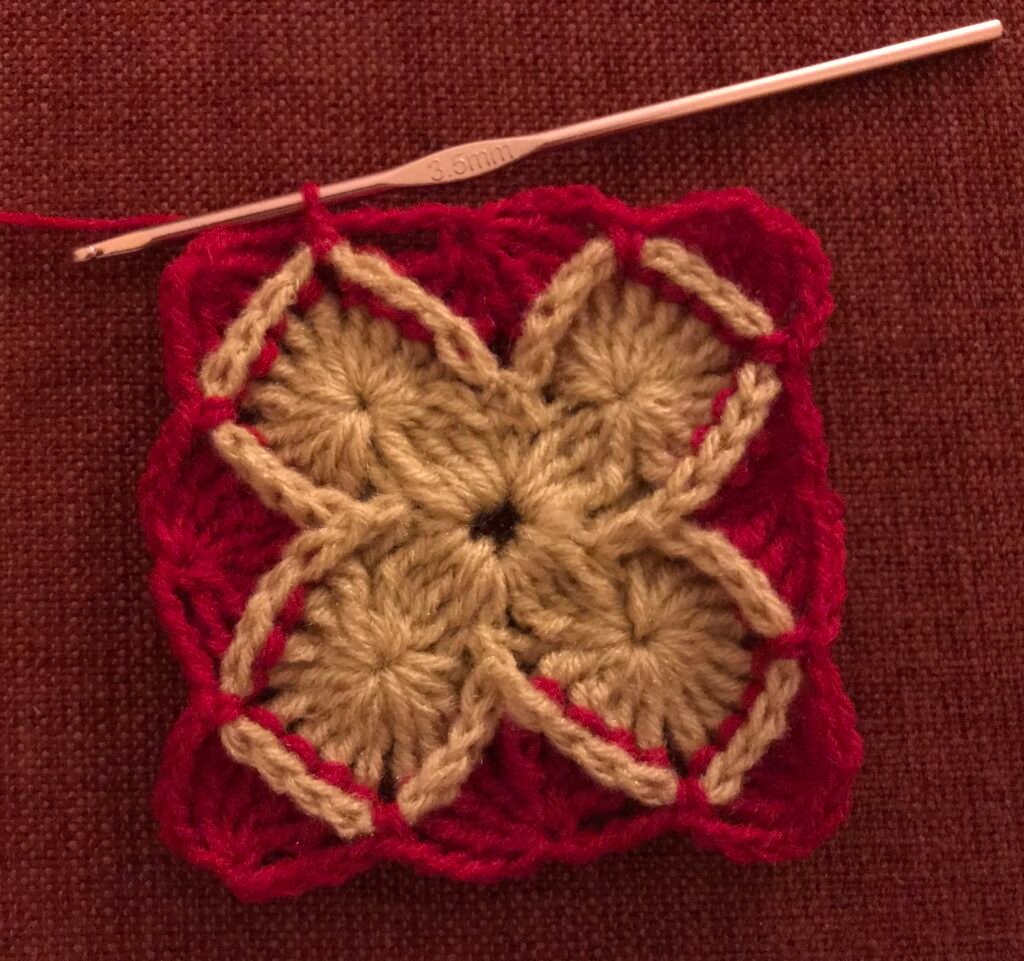
Keep repeating row 3 and row 4 till the desired length change colours accordingly.
Working on the back side
Solid granny square
Row 1 make 5 chains join last ch with slst to form a ring, 3 ch , 4dc in the ring ch2 and 4 dc in ring repeat until you have 4 ch2 spaces these are the corners.
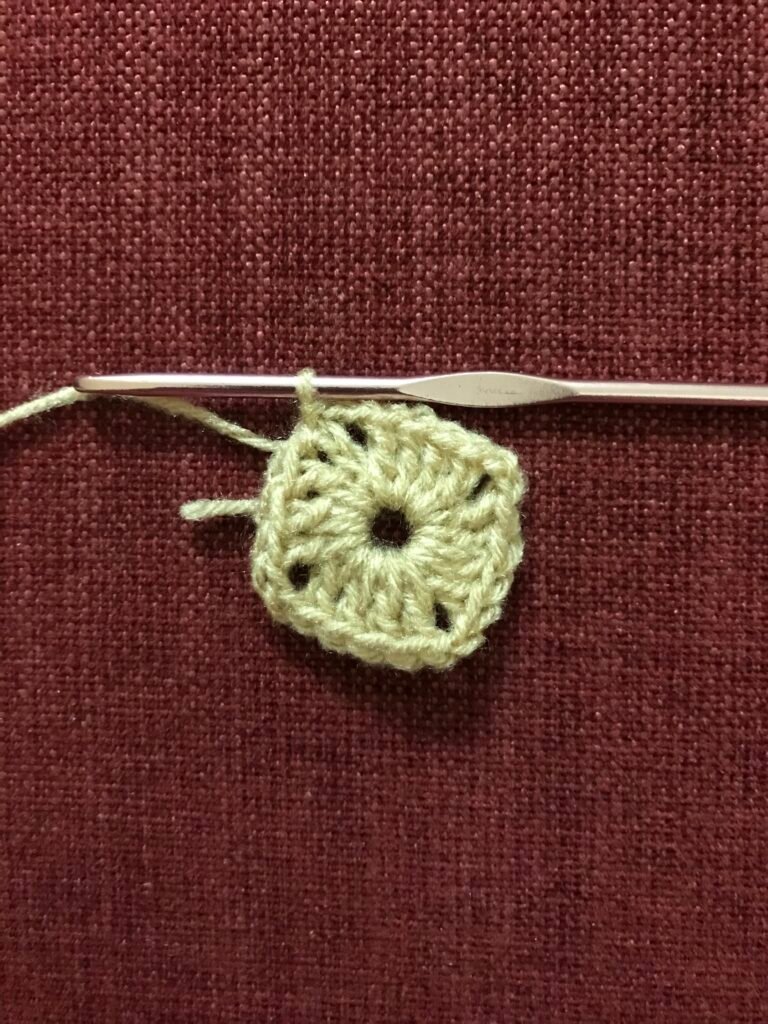
Row 2 ch3 and 1 dc in each stitch in the corner 2 dc, 2ch, 2dc in same space, 1 dc in each stitch repeat around join with slst.
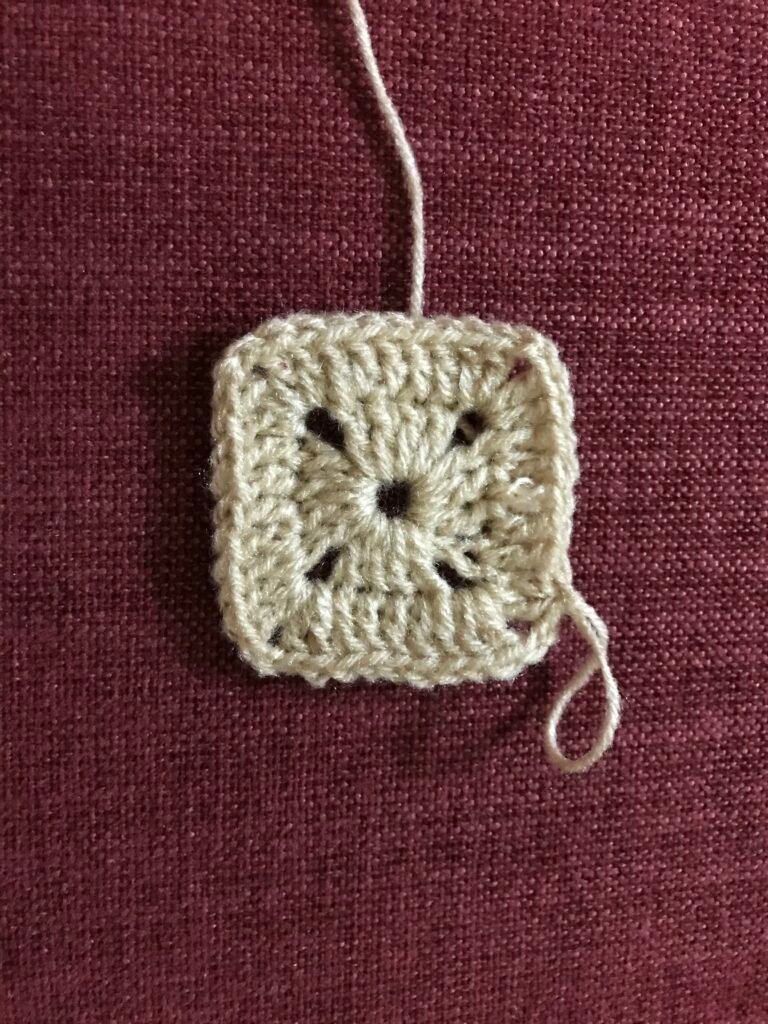
Repeat row 2 until the desired length
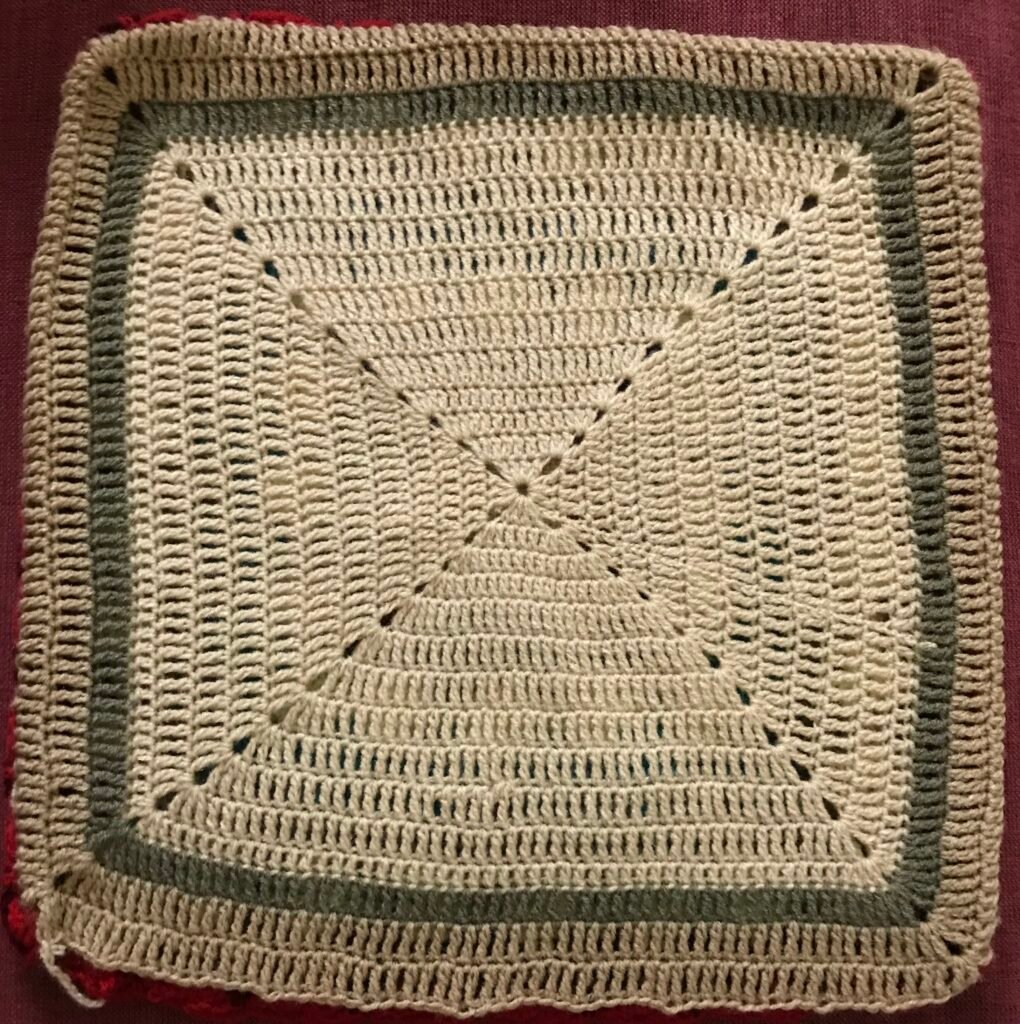
Assembling
Place the squares one above the other with the Right side facing each other and slst to join the pieces together make sure to keep one side open. Flip your work stuff the pillow you can add button or string to close the pillow.
Happy crocheting!
Share your work here alina@crochetkrafts.com
Copyright
Please do not copy or claim my patterns as your own you can make them but as long as you directly link back to my blog post.
Like this post please share and subscribe.
Have a great week ahead stay tuned for new post on every Friday!

Easy and simple way👍
Hi Umar, Thank you for stopping by😊.