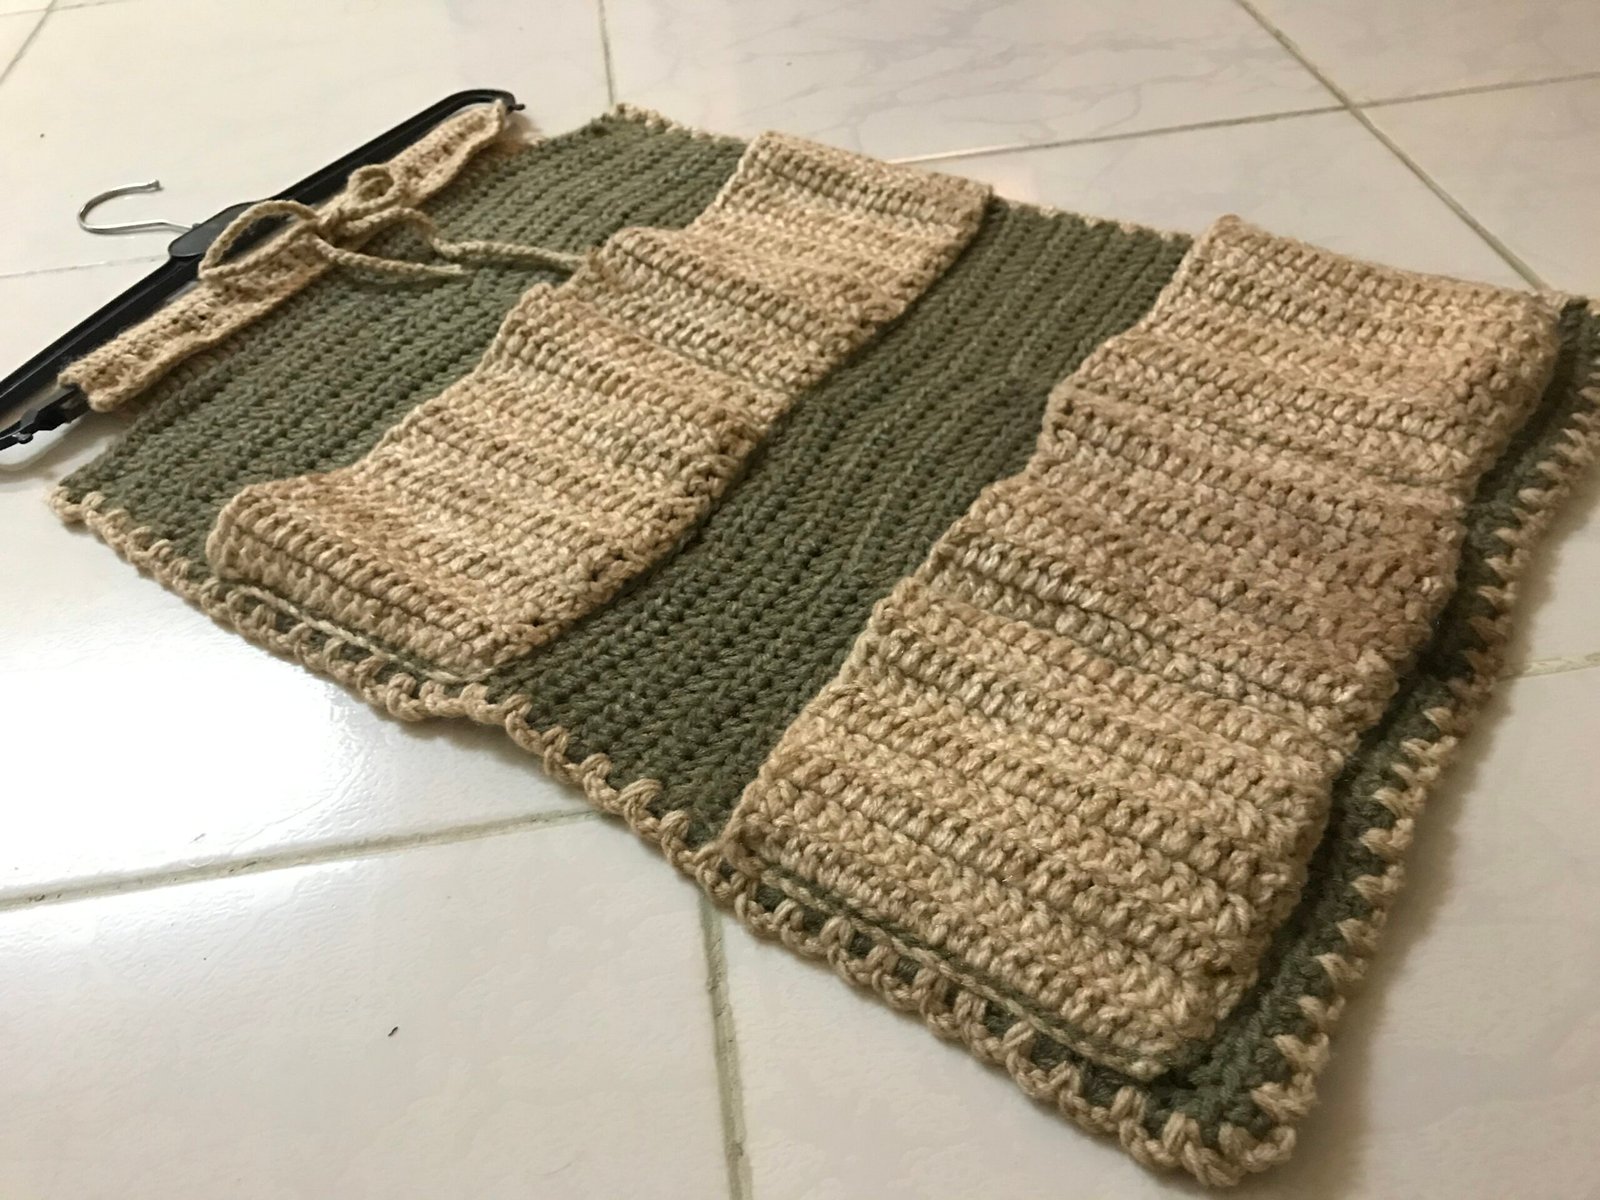
Do you want to declutter your counters and bring style to your bath with a helpful and pretty organizer? This pocket hanging storage is great way to keep cleanly. You can hang it over the door or wall and keep all your necessities in it like brushes, soaps, shampoo, lotion, and other items or whatever you need.
The Bathroom Organizer Free Crochet Pattern is very easy and quick beginner friendly project to make. The pattern can be adjusted to your needs. You can make the pockets wider and deeper. You can also make more pockets if you wish.
Let’s get organized….😃
Materials required
Wool 4ply 100gms (Light beige,grey)
Crochet hook 5 mm
Tapestry needle 1
Scissors
Measuring tape
Stitch markers
Hanger 1
Pattern notes
Weave in loose ends as your work progresses.
It’s recommended to work with 2 strands of yarn.
Pockets are crocheted vertically.
Organizer back is worked horizontally.
Chain 3 at beginning of each row counts as first double crochet stitch.
Finished measurements
23 inches long * 14 inches wide excluding hanger.
Stitch guide
Chain (ch)
Single crochet (sc)
Double crochet (dc)
slip stitch ( slst)
Organiser
Working on Lower pocket

Row 1 (work with light beige wool)
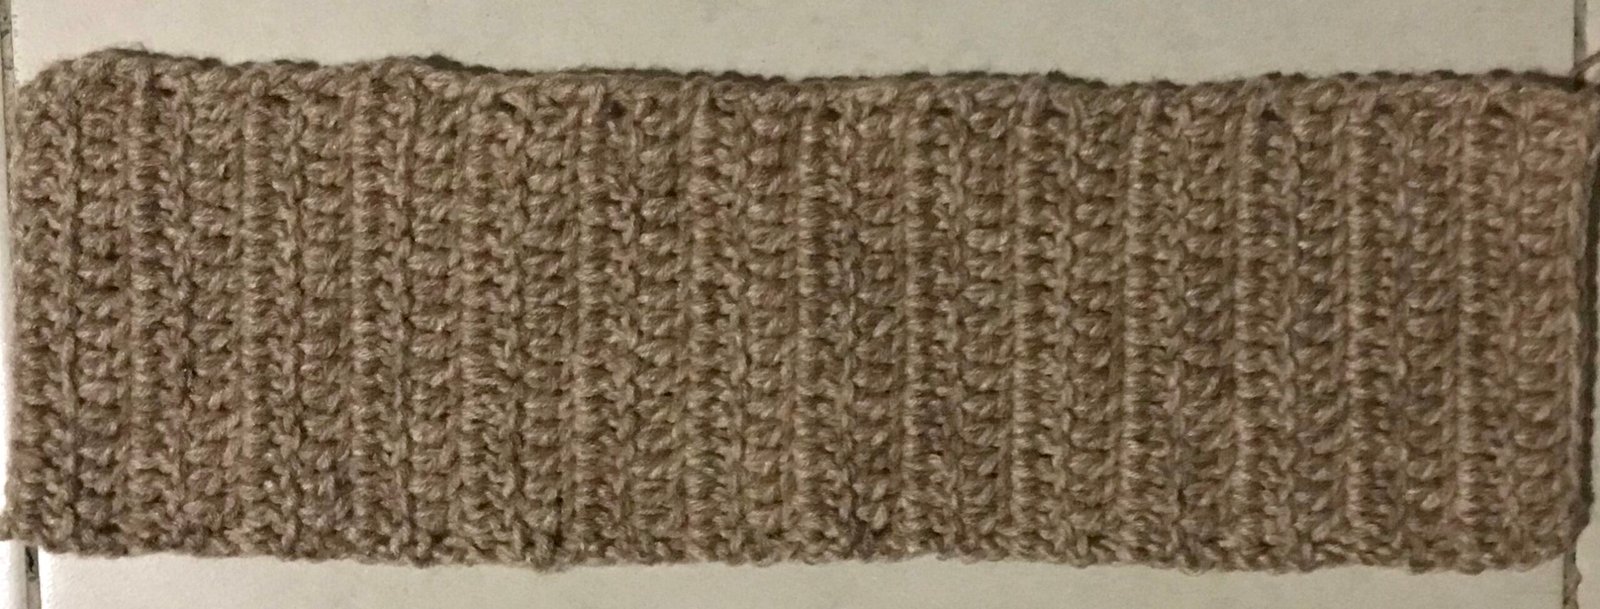
with 2 strands held together ch 24, dc in 4th ch from the hook ( the first 3 chains are counted as 1st dc), dc in each stitch across, turn.
Row 2
Ch 3 and dc in each dc across, turn.
Row 3 – 18
Repeat row 2 and fasten off weave the ends. This completes the lower pocket.
Working on upper pocket

Row 1 (Work with light beige wool)
with 2 strands held together ch 20, dc in 4th ch from the hook ( the first 3 chains are counted as 1st dc), dc in each stitch across, turn.
Row 2
Ch 3 and dc in each dc across, turn.
Row 3 – 18
Repeat row 2 and fasten off weave the ends. This completes the upper pocket.
Working on the organizer back

Row 1 (work with grey wool)
Make chains until, now make 3 more chains and dc In 4th chain from the hook, 1 dc in every ch, turn.
Row 2
Begin every row with ch 3 and 1 dc in each stitch and turn.
Row 3 till the desired length
Repeat row 2 measure your work and when your happy with the length you can fasten off and weave the ends.
working on the border

join beige yarn and make 3 chains skip 1 stitch and SC in 2 nd stitch, ch 3, skip 1, SC in next repeat around join with slst.
Let’s assemble
place the upper and lower pockets on the back piece and use stitch markers to keep in place and sew it.

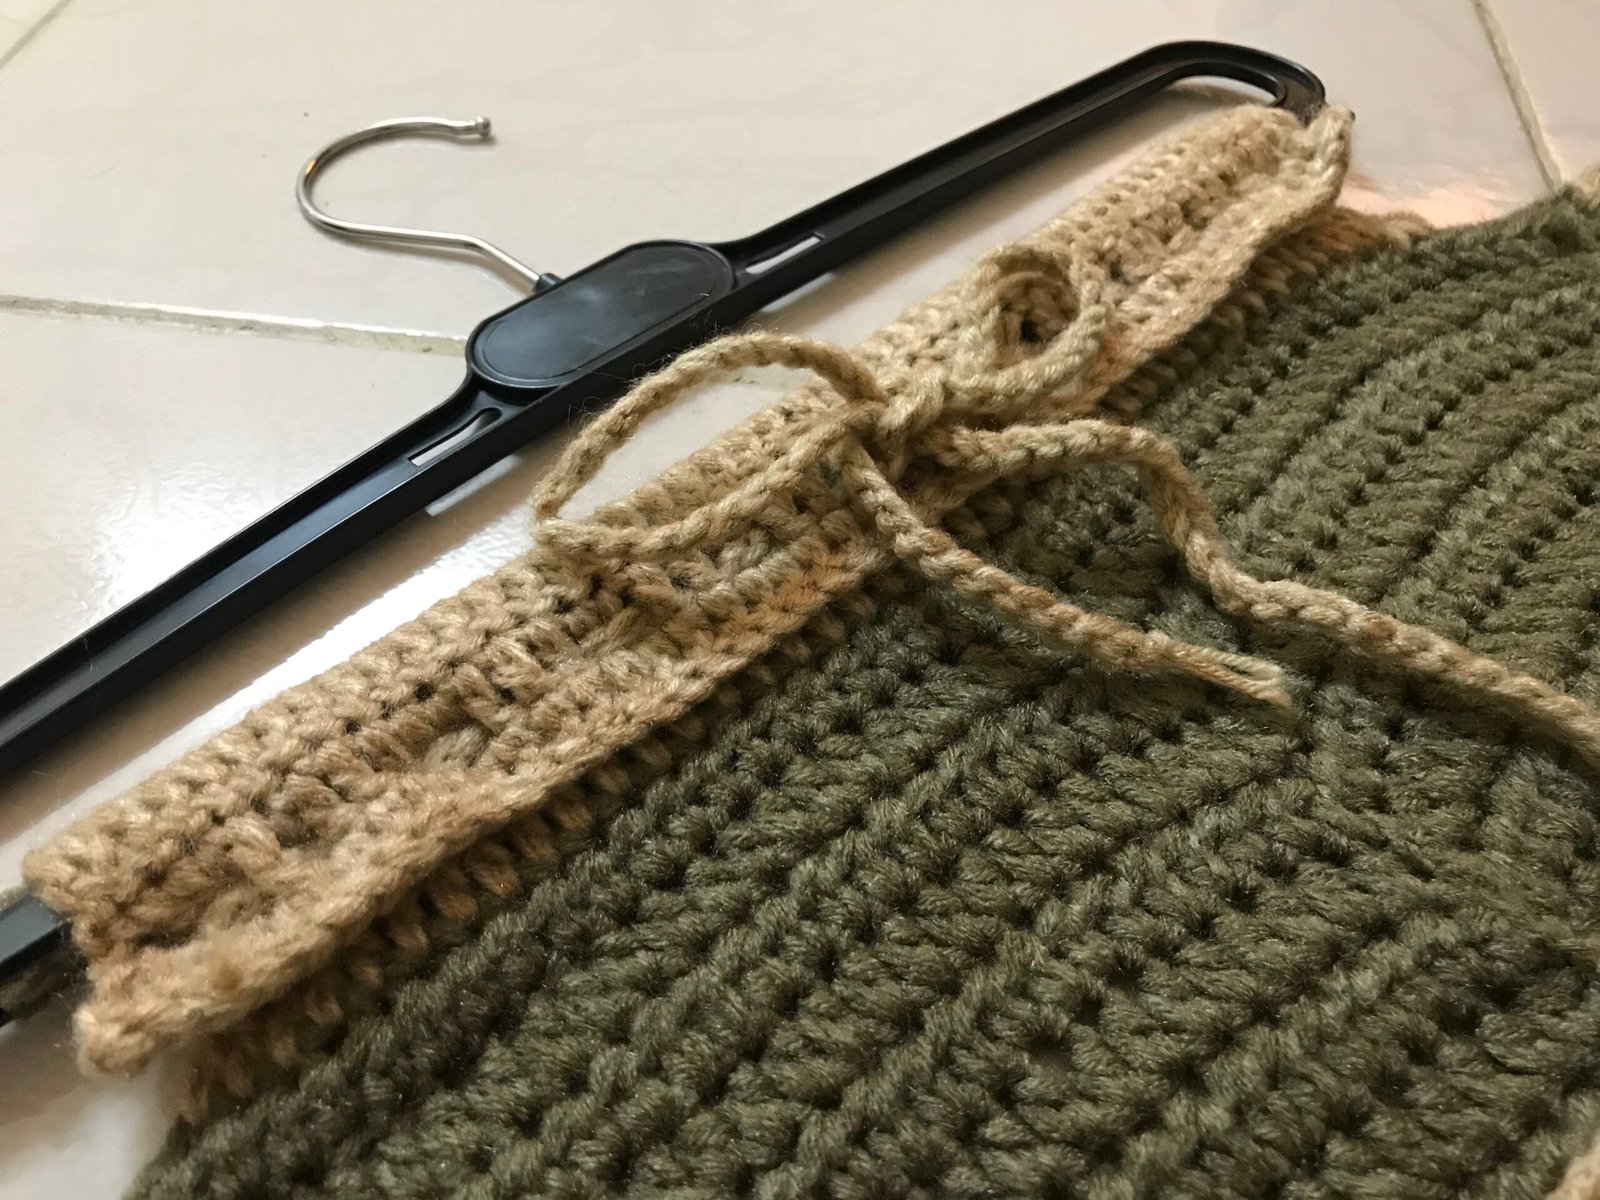
Let’s make the flap to hang it on the hanger for it skip 5 stitches join yarn and make one double crochet in every stitch along skip the last 5 stitches. Make 9 rows of double stitches. You can hang it on the hanger and secure it with buttons or string.
Finishing
steam iron your work.
Thank you for stopping by If you like the post please do like share and subscribe to our newsletter to get free patterns on every Friday.
Have a great week ahead 😊… happy crocheting….
Share your work here alina@crochetkrafts.com
Copyright
Please do not copy or claim my pattern as your own but you may make them and share on social media as long as you directly link back to my blog post
Like this post then pin, share, subscribe, and comment.
Have a nice day !


Wow
Thank you so much😊.
Very beautiful Alina
Good to see you restart
Hi Binny,
Thank you so much 😊
Very good 👌👌👌
Very happy to hear from Binny
Ur favourite 😊
Thank You. So very much for your Free pattern
Your welcome, stay tuned for more free patterns Would love to see your work you can share them here alina@crochetkrafts.com
😇😇😇😇😇